Salesforce App Installation Instructions
The following installation instructions need to be completed by a Salesforce administrator. For any questions, please reach out to [email protected].
Installation Instructions
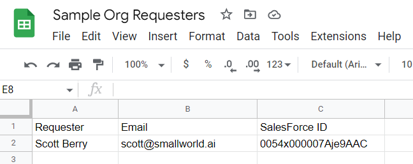
Step 1: Submit User IDs
Send a list of users with their Salesforce IDs and email addresses to [email protected] for every Requester you want to have access. You can locate the ID of each user by bringing up their profile in Salesforce and looking at what immediately follows "/User/" in the URL. SmallWorld will confirm receipt of the file and respond back with an account level Authentication Key.

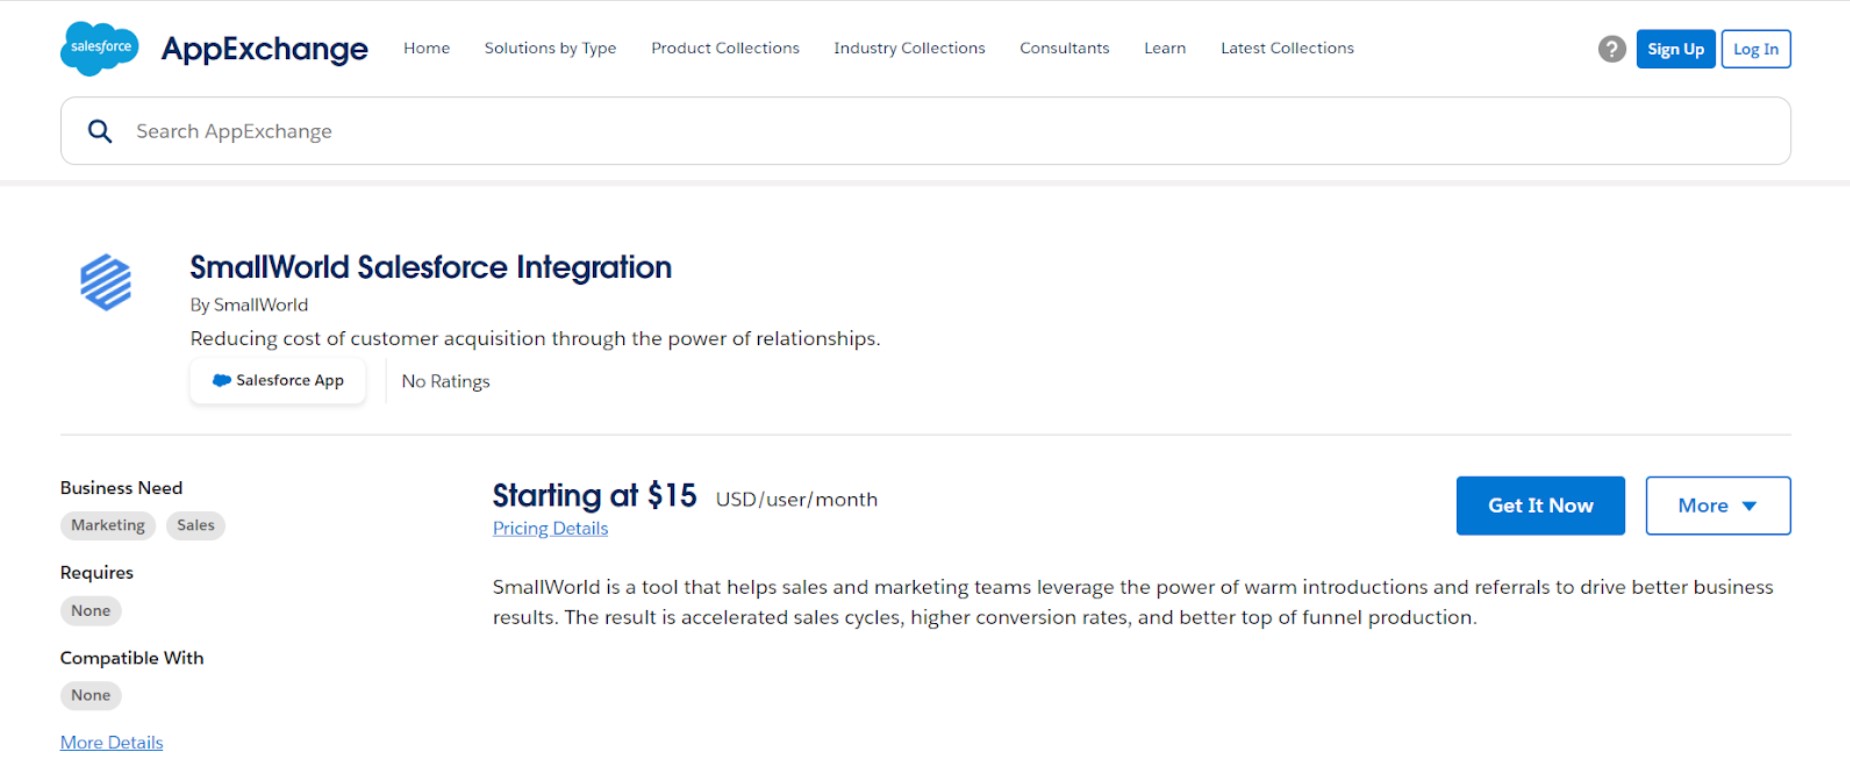
Step 2: Install from AppExchange
Visit the Salesforce AppExchange to begin the app installation process:
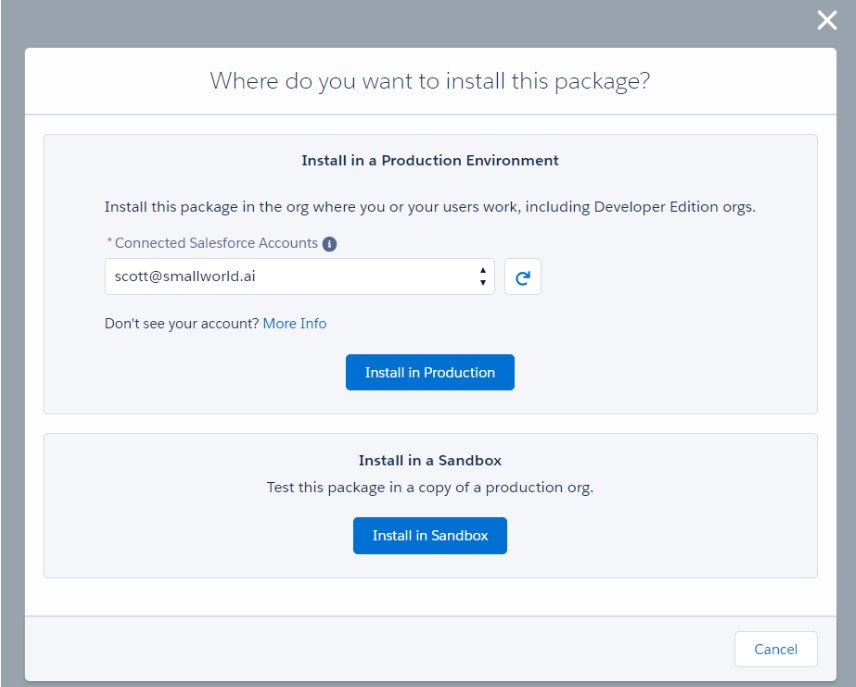
Step 3: Choose Environment
After authenticating with Salesforce, choose the environment in which you would like to install the app:
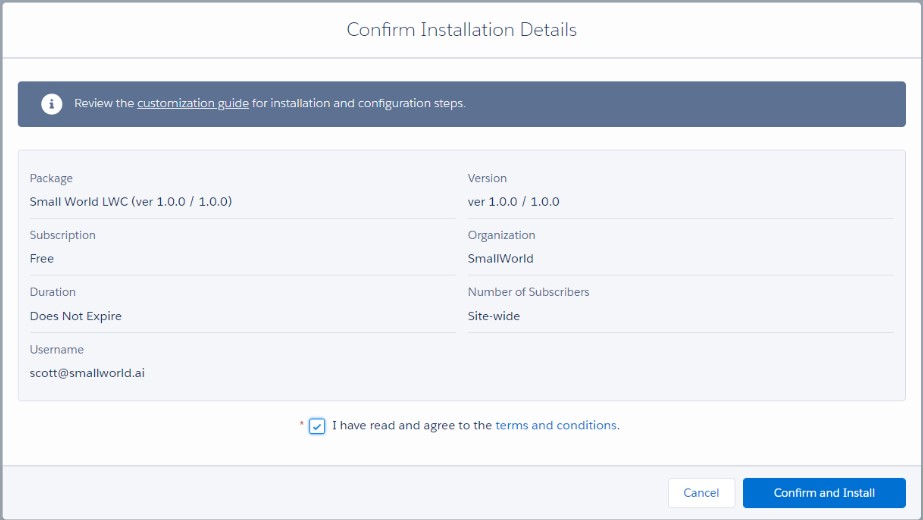
Step 4: Accept Terms and Conditions
Accept the terms and conditions, then choose Confirm and Install:
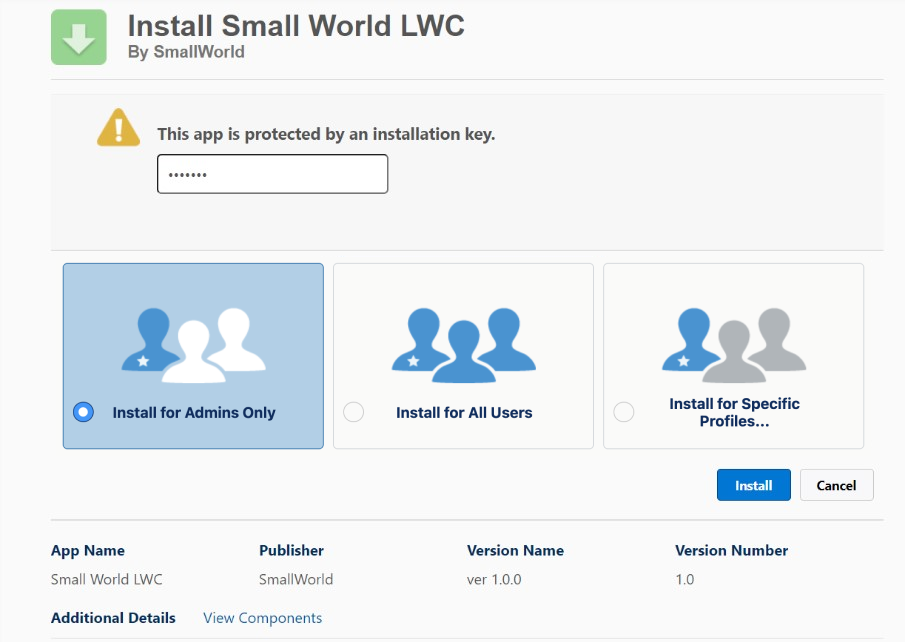
Step 5: Enter Installation Key
You'll need to enter the installation key "sw1234" (without the quotes) and select Install for Admins Only.
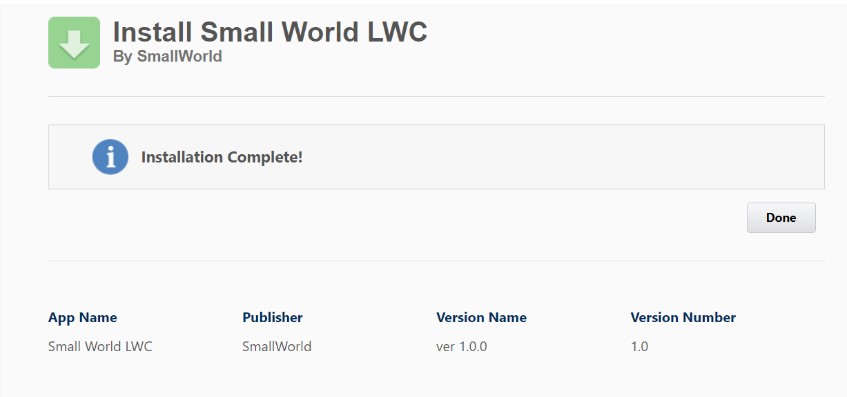
Step 6: Complete Installation
The app will begin installing. After it completes installation click Done:
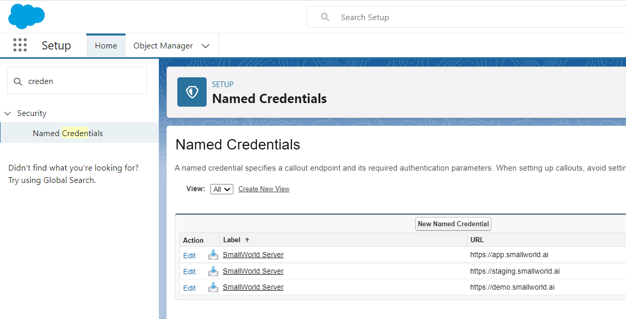
Step 7: Configure Named Credentials
Next go to Setup (via the Gear in the top right corner of Salesforce) and search Named Credentials. Click Edit on the Named Credential with the URL of https://app.smallworld.ai:
Step 8: Enter Authentication Key
Enter the Authentication Key provided by SmallWorld and click Save:

Step 9: Open Permission Sets
Your account is now authenticated but individual permissions need to be set for authorized users. From the Setup menu search for and click Permission Sets:
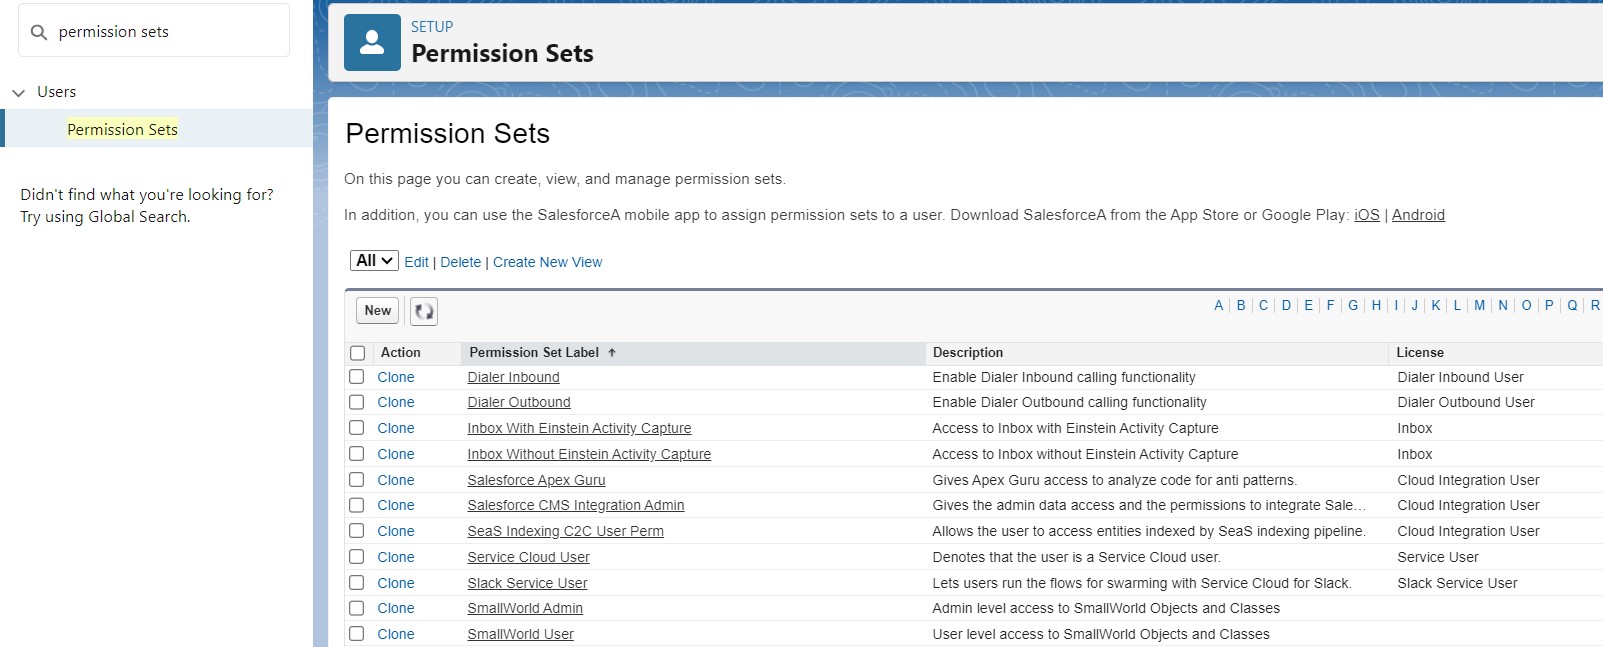
Step 10: Assign User Permissions
Click into the Permission Set named SmallWorld Admin and then click the Manage Assignments button. Click Add Assignments, select all of the users that are Admins in SmallWorld, then press the Next button in the lower right corner. Finally, leave the Expiration Option set to No expiration date and then click the Assign button in the lower right corner.
Repeat the process with the Permission Set named SmallWorld User and add each user that is a Requester in SmallWorld.

Step 11: Navigate to a Record Page
Next, navigate to any page where you'd like to add the SmallWorld component and click the Settings icon in the upper right hand corner. The most common pages to include the component are Lead, Contact, Opportunity and Account Pages.
![]()
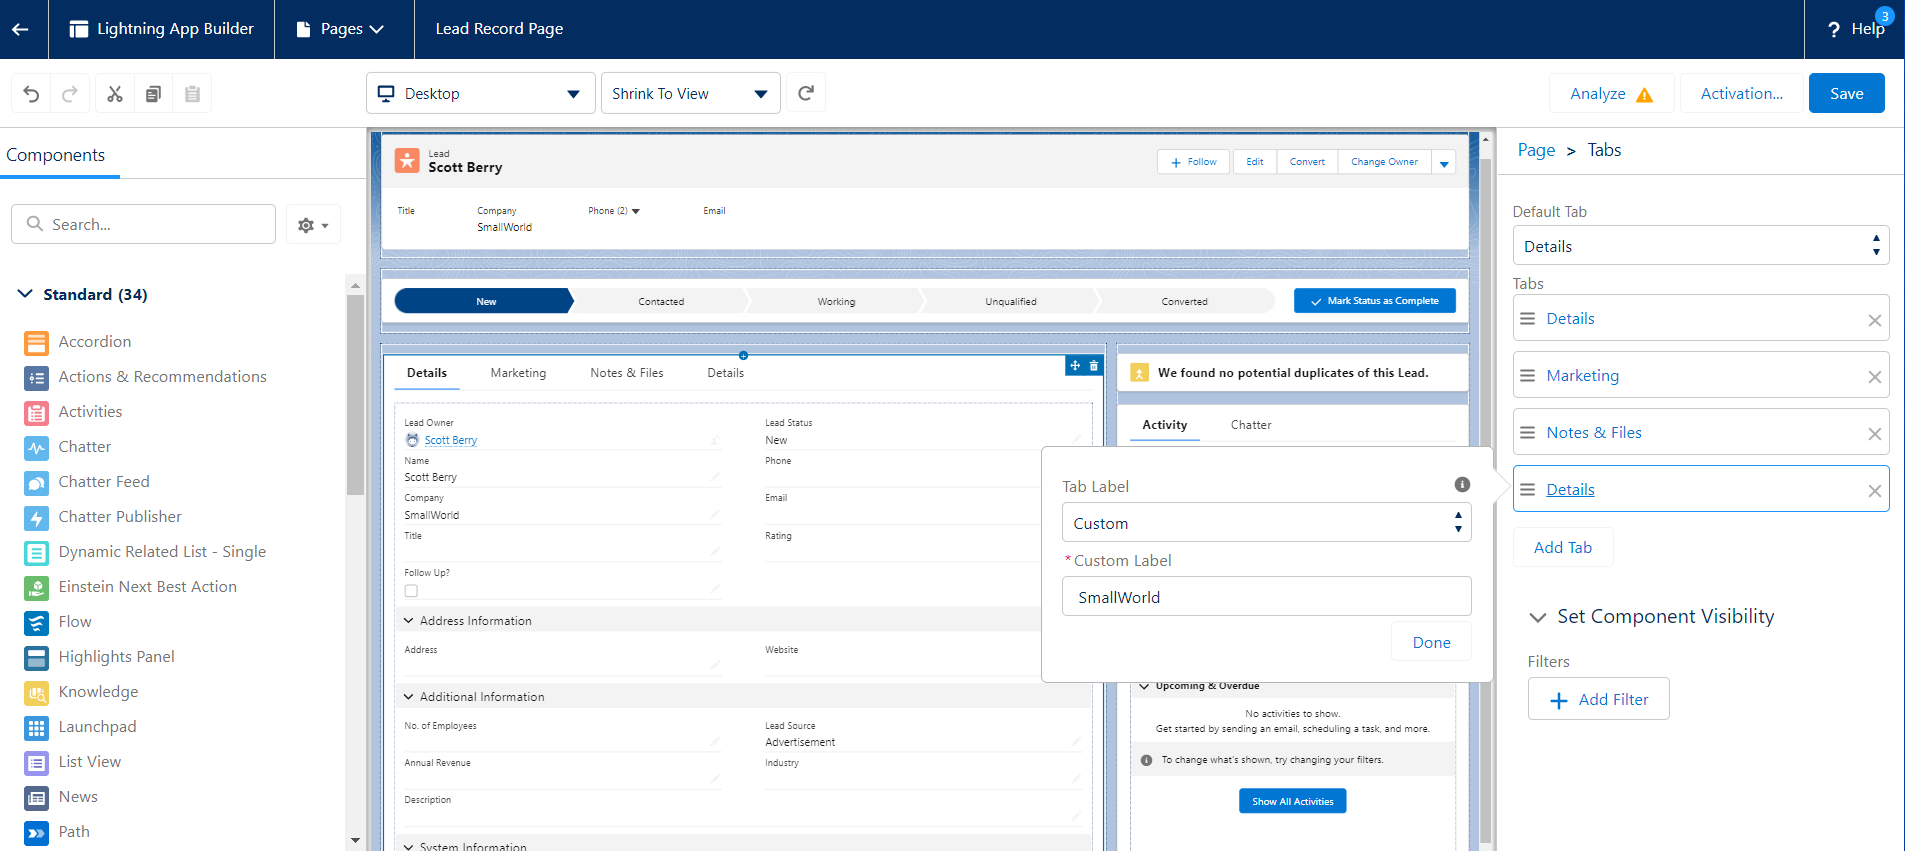
Step 12: Create a SmallWorld Tab
After clicking Edit Page you will be taken to the Lightning App Builder. You can either add this to an existing part of the page or create a dedicated SmallWorld tab. To create a brand new tab, click into the page, then Add Tab. Select Custom under Tab Label, set a Custom Label of SmallWorld and click Done.
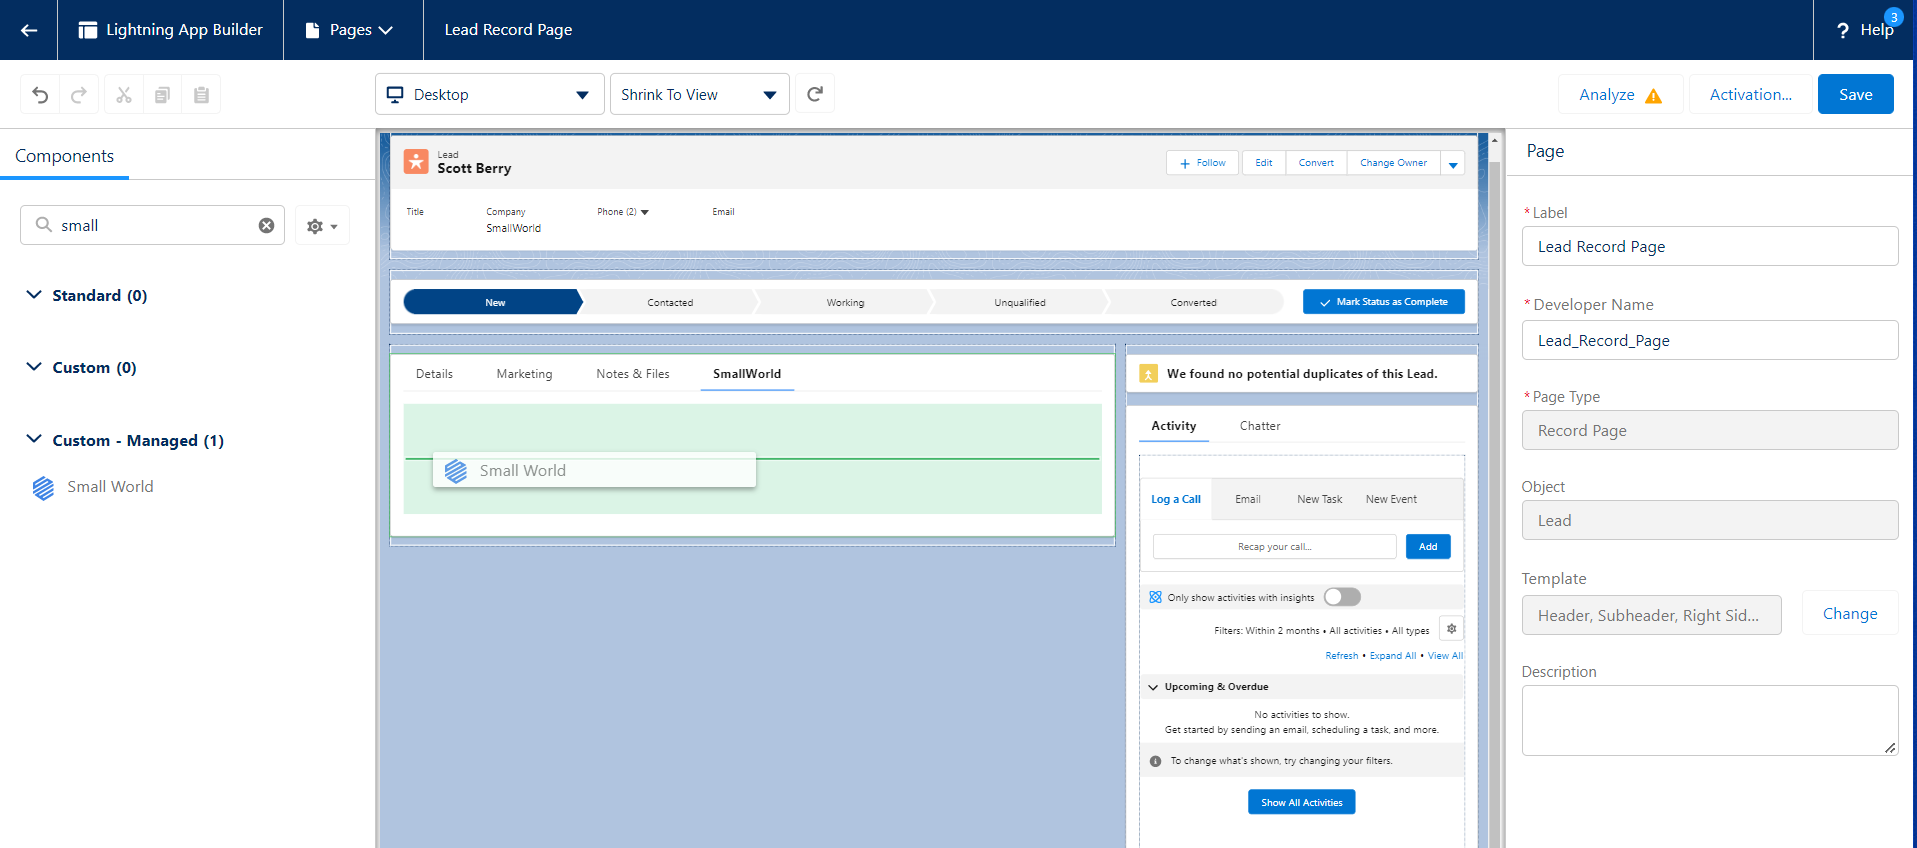
Step 13: Add the SmallWorld Component
Now search for the SmallWorld component in the left sidebar. Click and drag it into your newly created tab (or an existing part of your layout):
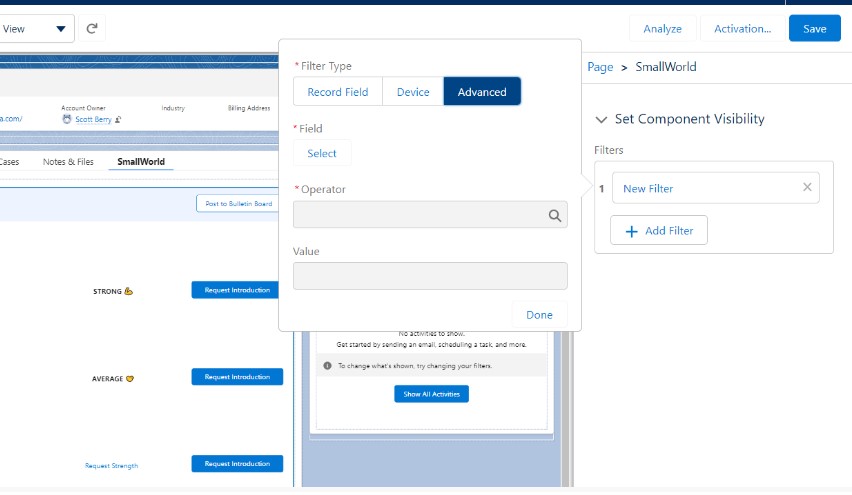
Step 14: Add Visibility Filter
Under Set Component Visibility, click + Add Filter, then Advanced:
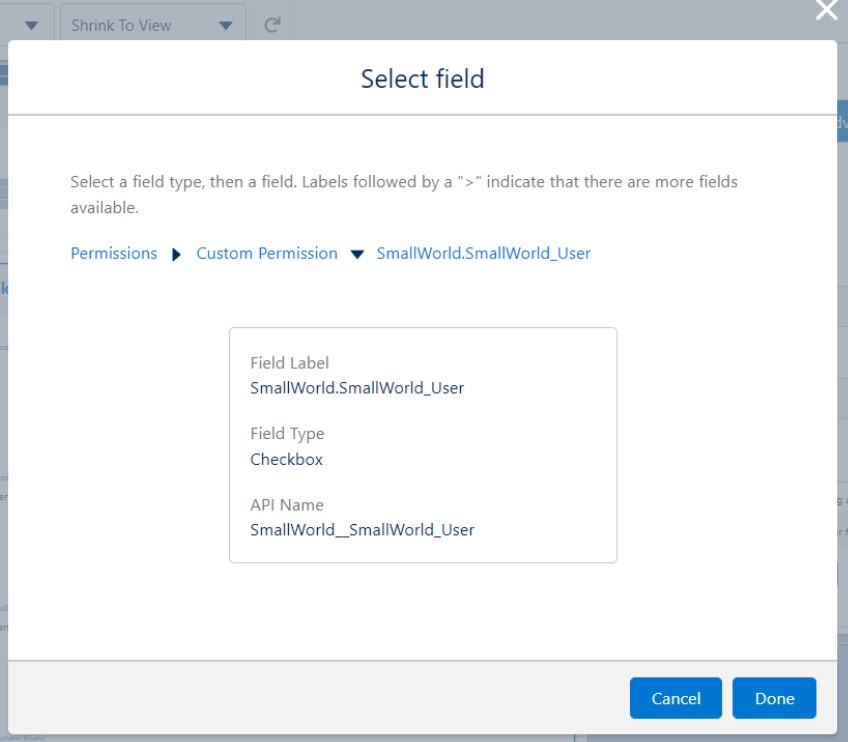
Step 15: Set User Permission Filter
After clicking Select under Field, Choose Permissions, Custom Permission, then SmallWorld.SmallWorld_User to restrict visibility to the previously authorized users. Click Done:
Step 16: Repeat for Other Pages
Click Save in the upper right and repeat steps 11-15 for any other pages where you want Requesters to see the SmallWorld data.
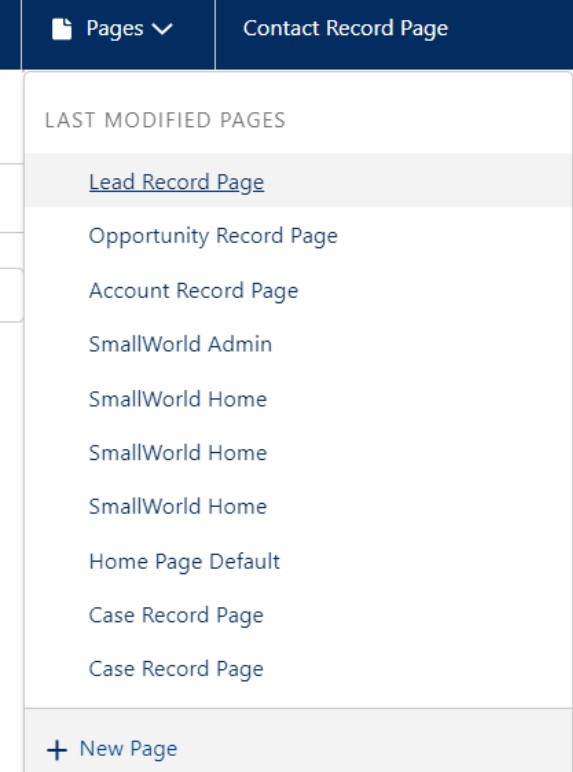
Step 17: Create Relationship Leads Page
With SmallWorld provisioned on standard record pages, it's time to add a custom app page for Relationship Leads. From the top of the Lightning App Builder, choose Pages then + New Page:
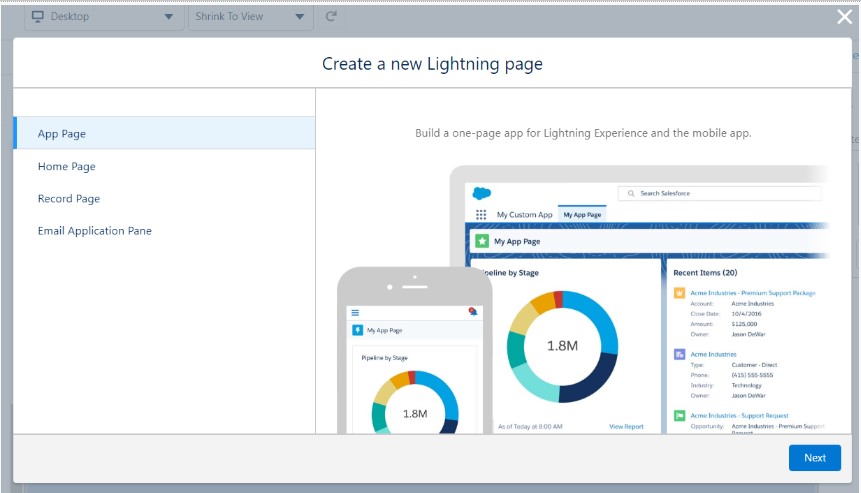
Step 18: Select App Page
Choose App Page, then Next:
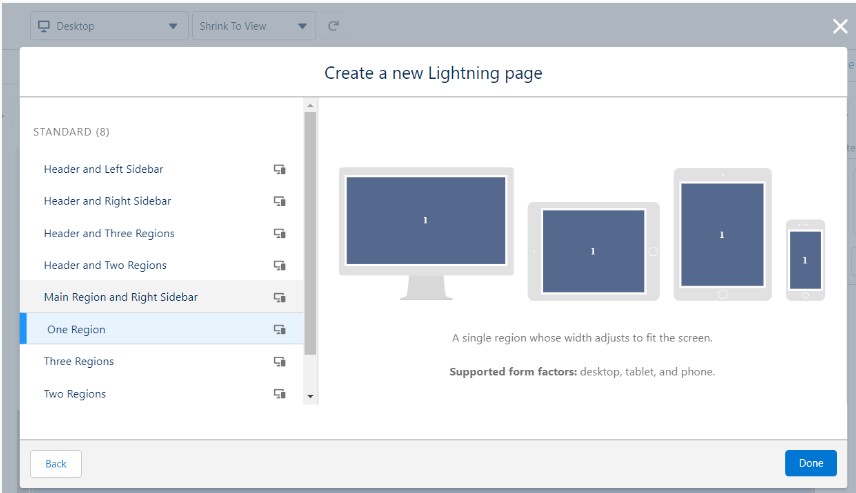
Step 19: Name and Configure Layout
Name the page, choose One Region, then Done:
Step 20: Add App Page Component
On the left, search for and drag the SmallWorld App Page Component onto the page, then set the component visibility the same way as you did in steps 14 & 15. When complete, click Activation in the upper right:
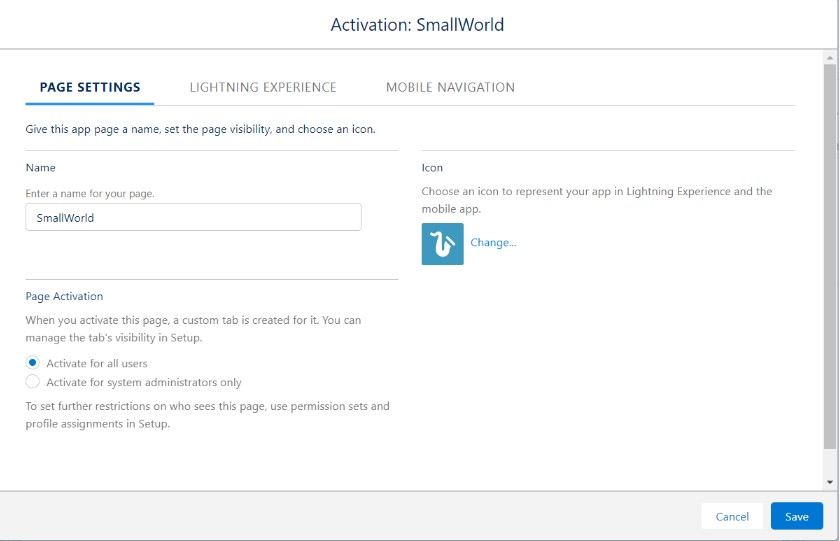
Step 21: Activate for All Users
Make sure Activate for all users is selected, then click over to Lightning Experience:
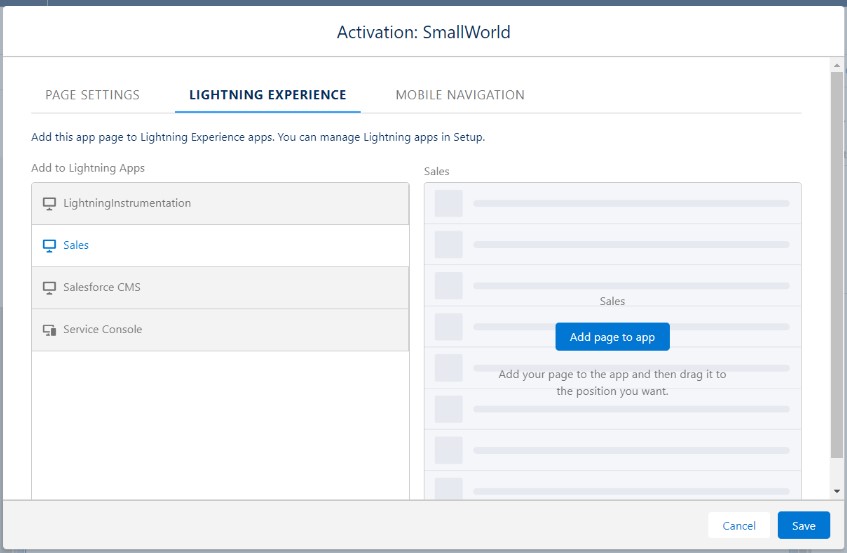
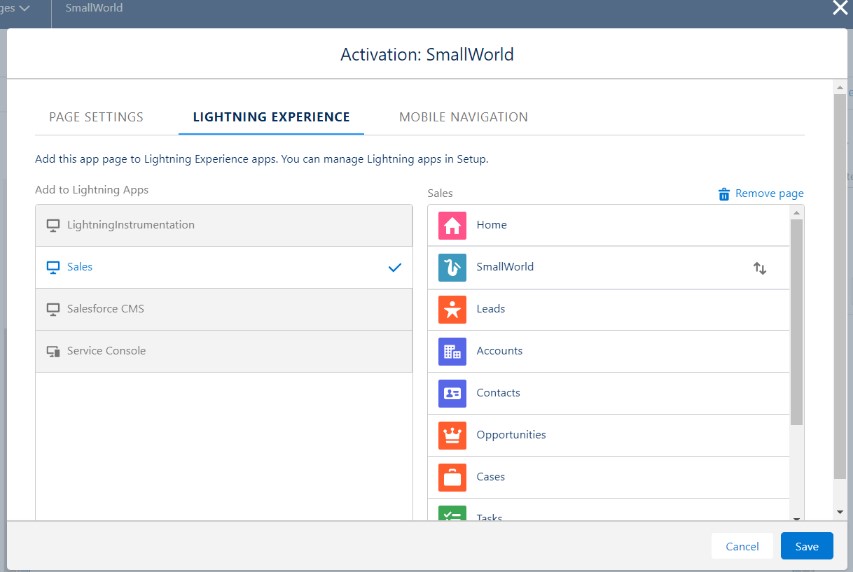
Step 22: Add Page to App
Click Add page to app, select where it should appear and click Save:
Step 23: Save and Verify
Save the SmallWorld page to complete configuration!
It is recommended to confirm the version of the app installed with SmallWorld. The AppExchange is updated at regular intervals but may not always have the most current version. If the installed version is outdated, SmallWorld can easily push an update to your Salesforce instance.
For questions and additional support please email [email protected].